199000402 - 1004D10 POWER UNIT (MANUAL GEARBOX), REMOVED, DISMANTLE AND REASSEMBLE

| Tool | Description | Function | Validity |
|---|---|---|---|
| 1860846000 | Counter-torque | Flywheel lock |
| Tool | Description | Function | Validity |
|---|---|---|---|
| 2000024900 | Clutch centering kit | Removing-refitting clutch mechanism | 1.4 16v TJet |
| Tool | Description | Function | Validity |
|---|---|---|---|
| 1871003100 | Extractor/ Fitting tool | Removing-refitting clutch mechanism | 1.4 16v TJet1.9 Multijet |
| Tool | Description | Function | Validity |
|---|---|---|---|
| 2000024900 | Clutch centering kit | Removing-refitting clutch mechanism | 1.4 16v TJet |
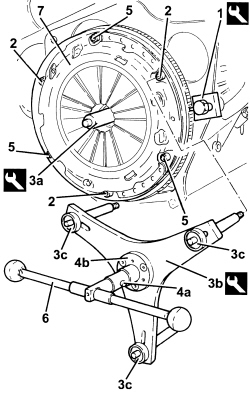
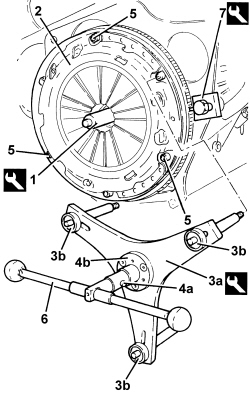
| When fitting the clutch plate the correct position is shown by the words "engine side" and "gearbox side".Handle the clutch plate carefully. Do not touch the surface of the friction linings with your hands. |
| Clean any anti-corrosion protection or detergents from the friction surface of the clutch mechanism. |
| Tool | Description | Function | Validity |
|---|---|---|---|
| 1871003100 | Extractor/ Fitting tool | Removing-refitting clutch mechanism | 1.4 16v TJet1.9 Multijet |
| Component | Fastening | dia | Value (daNm) | Validity |
|---|---|---|---|---|
| Clutch mechanism | Bolt (to be replaced) | M6 | 1.2 ÷ 1.5 | 1.4 16v |
| Component | Fastening | dia | Value (daNm) | Validity |
|---|---|---|---|---|
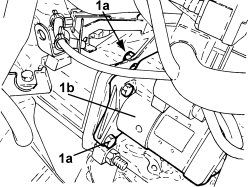
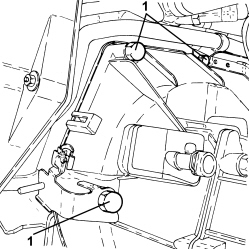
| Manual gearbox to engine - crankcase side | Nut | M12 | 4.8 ÷ 7.2 |
| Component | Fastening | dia | Value (daNm) | Validity |
|---|---|---|---|---|
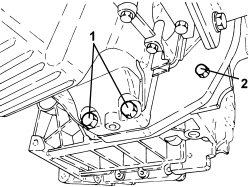
| Manual gearbox to oil sump | Bolt | M10 | 3.6 ÷ 4.4 | 1.4 16v1.9 Multijet |
| Component | Fastening | dia | Value (daNm) | Validity |
|---|---|---|---|---|
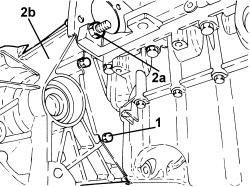
| Manual gearbox to engine - crankcase side | Bolt | M12 | 4.8 ÷ 7.2 |
| Component | Fastening | dia | Value (daNm) | Validity |
|---|---|---|---|---|
| Starter motor | Bolt | M8 | 2.25 ÷ 2.75 |