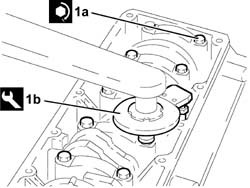
2585290 - 1024A10 CRANKSHAFT - R.R WITH ENGINE REMOVED - CHECK AND, IF NECESSARY, REPLACE MAIN JOURNALS AND CRANKPINS
 | Name | Country |
|---|---|---|
| 1 | Counter-torque | 1.860.846.000 |

| Name | Country |
|---|---|---|
| 1 | Counter-torque | 1.860.846.000 |
| Name | Country |
|---|---|---|
| - | Counter-torque | 1.860.846.000 |


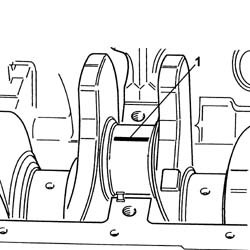
| Check one journal at a time without moving the crankshaft. |


| If the reading is not within the specified range, replace the main bearing halves with new bearing halves of appropriate size and category. |

| Check one pin at a time without turning the crankshaft. |


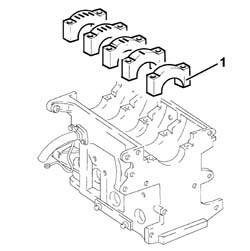
 | Fastening | Component | Ø | Value(daNm) |
|---|---|---|---|---|
| 1a | Bolt | BIG END BEARING CAPS | M9 | 2.4 - 2.6 + 60° |
| Name | Country |
|---|---|---|
| 1b | Protractor | 1.860.942.000 |
| Name | Country |
|---|---|---|
| - | Flange | 1.860.815.000 |
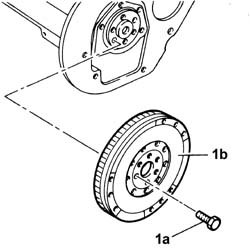
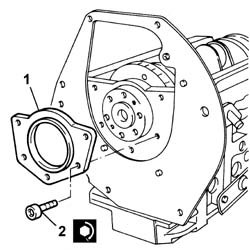
| Fastening | Component | Ø | Value(daNm) |
|---|---|---|---|---|
| 2 | Bolt | FLYWHEEL SIDE COVER | M6 | 0.8 - 1.0 |