80325 - 7035A18 Rearscreen WINDOW GLASS (bonded type) - R.R. for Replacement - Includes cleaning housing in bodyshell
| Description | Connector | |
|---|---|---|
| 2 | Heated windscreen | P056 |
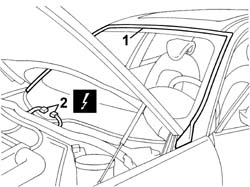

| Carrying out the operations described below, place suitable protection between the wire and the dashboard. |
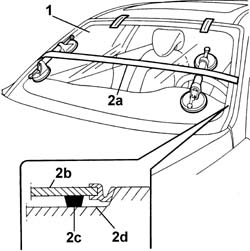
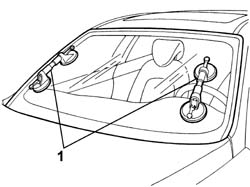
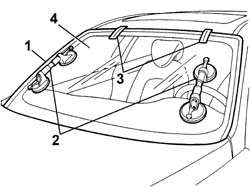
| Take care over the centering pins located in the upper part of the glass. |
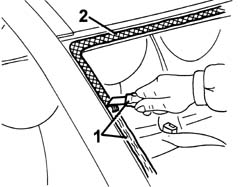
| The thickness of the remaining sealant will act as a support for the new bonding |
| Description | Qty. | Component | Type | Classification | |
|---|---|---|---|---|---|
| . | PRIMER | - | WINDSCREEN GLASS SEALING STRIP | - | - |
| Description | Qty. | Component | Type | Classification | |
|---|---|---|---|---|---|
| . | Product n° 71711976 | - | WINDSCREEN GLASS SEALING STRIP | - | - |
| Take care over the centering pins located in the upper part of the glass. |
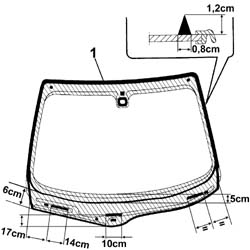
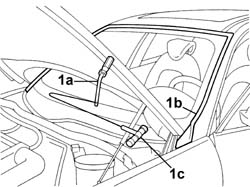
| Follow the manufacturer's instructions for the sealant drying times. |